How to Turn Acrylic Paint into Fabric Paint
Handprints
Introduction
Are you a creative individual searching for an inexpensive and convenient way to customize fabric materials? Look no further! In this detailed guide, we will show you how to turn regular acrylic paint into fabric paint effortlessly. With this technique, you can transform your art projects into stunning fabric designs suitable for various applications such as clothing, home decor, and more.
Gather Your Materials
Before you begin, it's essential to gather the necessary materials to ensure a smooth and successful process. Here's what you'll need:
- Regular acrylic paint in your desired colors
- Textile medium
- Clean paintbrushes
- Plain fabric to test your newfound fabric paint
- Palette or mixing tray
- Water for cleanup
Preparation Steps
Prior to transforming your acrylic paint into fabric paint, it's important to prepare the paint and fabric surfaces appropriately. Follow these steps:
Step 1: Cleaning the Fabric
Start by washing and drying the fabric you plan to paint on. This eliminates any dirt, dust, or sizing agents present on the fabric surface, ensuring better paint adhesion.
Step 2: Mixing the Textile Medium
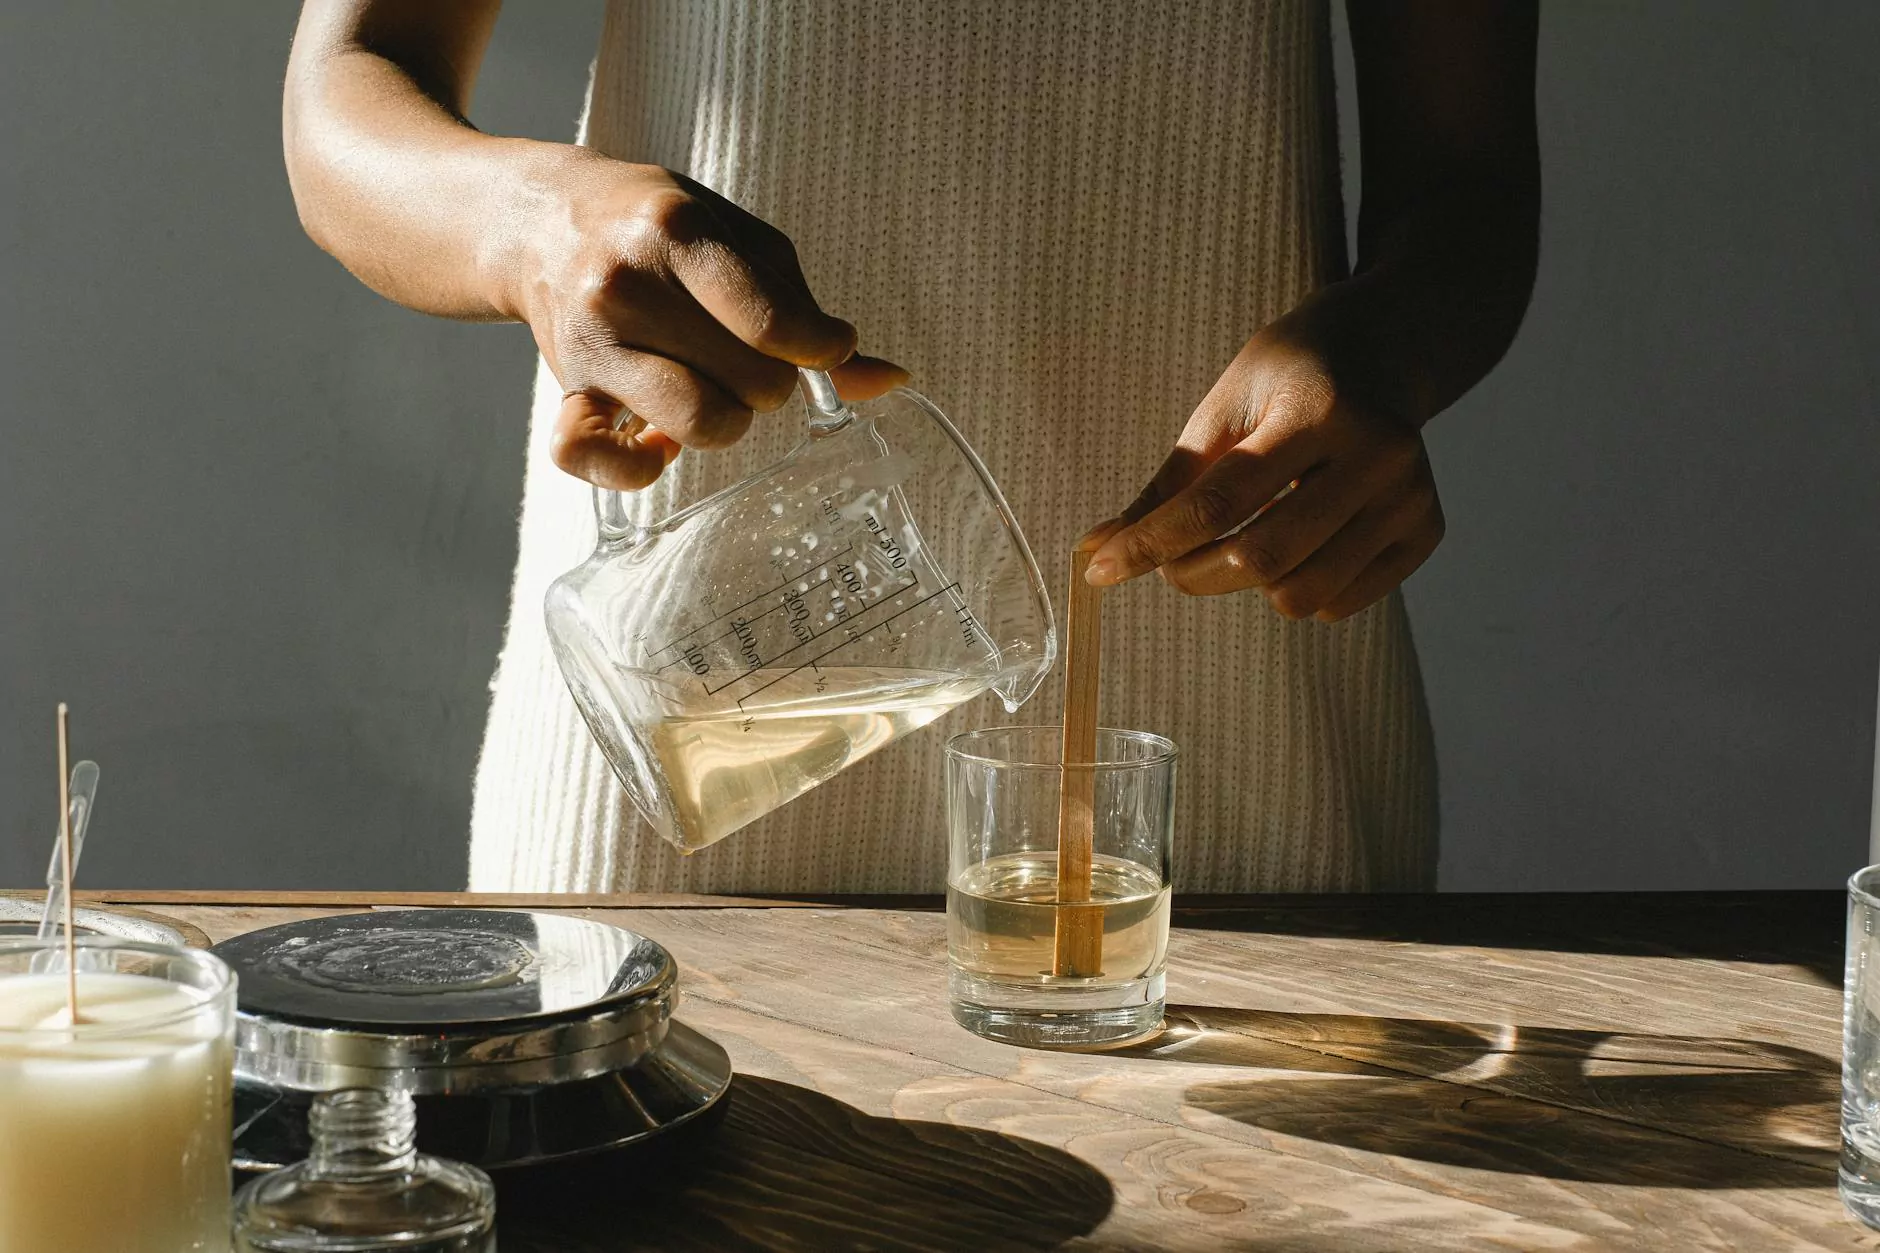
In a separate container, mix the regular acrylic paint with the textile medium using a 1:1 ratio. The textile medium acts as a fabric-friendly agent, allowing the paint to adhere properly and remain flexible on the fabric surface after drying.
Application Process
Now that you have prepared your paint and fabric, it's time to unleash your creativity and turn your acrylic paint into fabric paint. Follow these application steps:
Step 1: Test on Scrap Fabric
Before painting your final project, it's always recommended to test your newly created fabric paint on a small scrap fabric. This helps validate color and consistency, ensuring the desired results.
Step 2: Start Painting
Using your clean paintbrush, start applying your fabric paint onto the fabric surface. Remember to apply even pressure, maintaining an adequate consistency, and avoiding excessively thick layers which may result in cracking or stiffness. Allow each layer to dry completely before adding subsequent coats.
Step 3: Heat Setting
Once your fabric paint has fully dried, heat set the design according to the instructions provided with the textile medium or as per product recommendations. Heat setting generally involves ironing the fabric on the reverse side using a dry iron at a suitable temperature. This step ensures the longevity of your design and enhances washability.
Additional Tips
To enhance your fabric painting experience, here are some additional tips to keep in mind:
- Experiment with different painting techniques such as stenciling, stamping, or free-hand painting.
- Mix and blend colors to create unique shade variations and gradients.
- Wash and dry your fabric following the instructions provided with the textile medium to maintain the quality of your completed fabric art.
- Seal your fabric paint design by adding a layer of transparent fabric medium on top once the paint has dried. This step enhances fabric durability and protects against fading.
Conclusion
Congratulations! You have successfully learned how to turn regular acrylic paint into fabric paint. Now, armed with this newfound knowledge, you can elevate your creativity and design beautiful fabric art for various purposes. Experiment, explore, and unleash your imagination using this affordable and accessible technique. For more creative inspirations and art-related resources, visit The Poker Club at West Houston.


